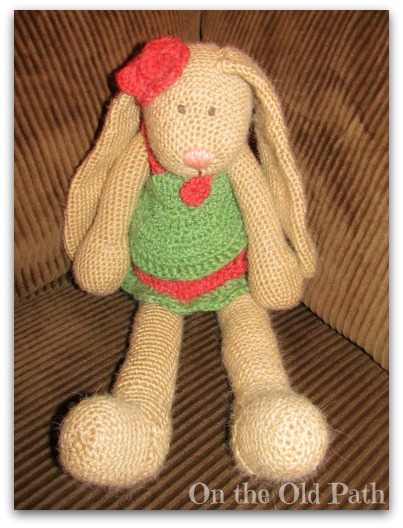
I am always crafting something and recently I crocheted this bunny for Hannah.
I found her pattern for free on Raverly, you can find the pattern here. I chose to go with a slightly heavier yarn than it suggested. Only because I really loved the feel of it. It was an alpaca wool blend, and was a medium (4) weight. The yarn called for a number 6mm (J) crochet hook but I went with the 5mm (H) hook so my stitches would be tighter. Doing this made Hannah’s bunny larger but very soft.
I didn’t make any changes to the crocheting of the bunny, but I noticed after I had assembled the bunny that I sewed her arms higher, but in the end I like how she looks, so I am not worried about that.
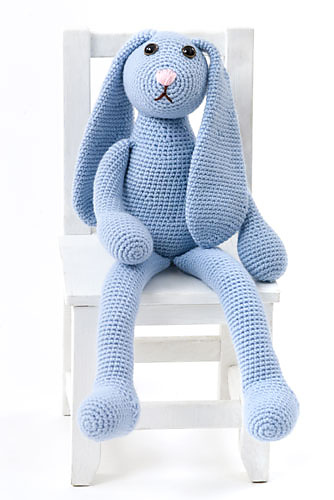 Notice where they sewed their bunnies arms?? Photo credit: Caron International Yarns
If I were to make another I might consider making her legs about 6-10 rounds shorter because she has very long legs!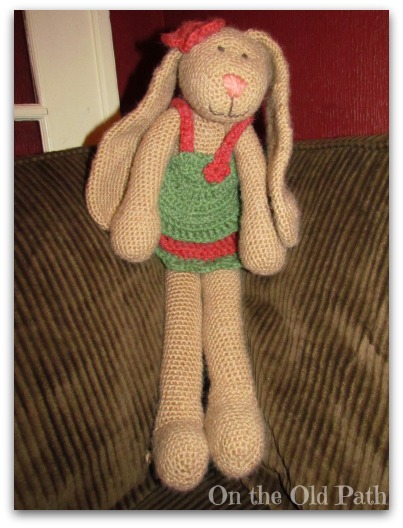
You can see her legs are very long but she is still sitting so you aren’t seeing the full length of them!
Hannah is in love with her and has named her Juliet!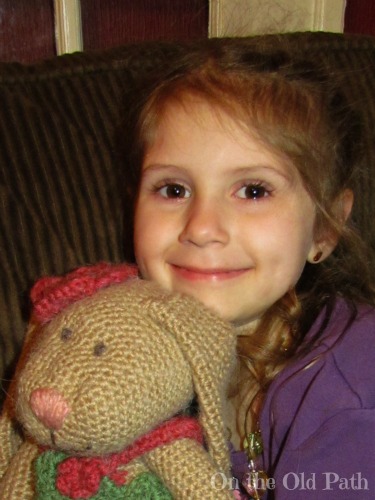
I added a flower to her head. The flower is probably one of my favourite crocheted flowers so easy to make, here is a link to a video tutorial on how to make them by JJ crochet.
For her clothing I just made it up as I went the top is cute enough I guess, but I would never repeat it. To be honest, I am not happy with how it turned out at all. The skirt, however, was fast and easy (and I like how it looks). If the bunny is wearing just the skirt it kind of looks like a tutu.
Here is the pattern for the skirt. If your bunny is smaller you could easily start with fewer chains, and then just adjust the amount of stitches as you continue along.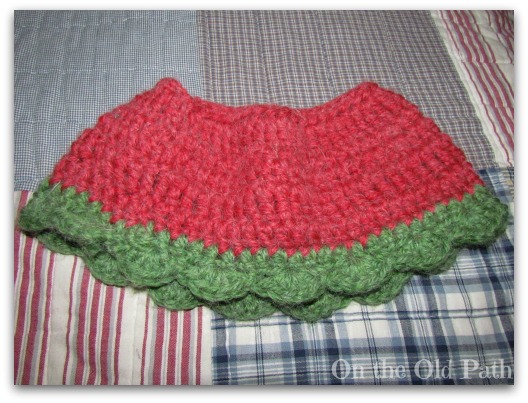
Bunny Skirt
ch- chain
hdc- half double crochet
dc- double crochet
tr- treble crochet
use a marker to mark each round
ch 48 stitches, slip stitch in first stitch to join
hdc in each stitch -48 stitches
2 tr stitches in first stitch, 1 tr in next stitch repeat all the way around -72 stiches
hdc in each stitch -72 stitches
dc in each stitch -72 stitches
tr in each stitch -72 stitches
dc in each stitch -72 stitches
hdc in each stitch -72 stitches
shell stitch around to finish, work in your ends.
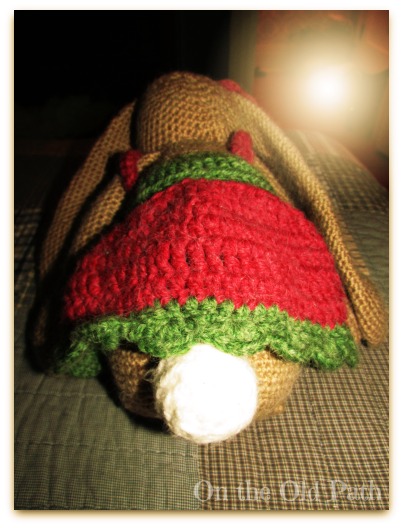
Oops, I said I didn’t change the pattern but I took a picture of her tail because I did it differently. Basically, I just crocheted in the round, increasing as I went until I got the size I was looking for. Next I crocheted a round in that size and then began decreasing. I stuffed the tail ran the yarn through the last round and pulled it tight. If that needs further explanation feel free to ask away!
Sorry this picture’s quality is lousy!
I am still very much a beginner and am not a great pattern writer, so if it doesn’t sound quite right please send me your questions.
This post is linked to Keep Calm and Craft On.
What have you been crafting??



Comments