
Princess Tutorials Part 2
It has taken me a bit of time to get the next instalment written but it is finally here!
The Wand
 Materials
- Piece of dowel
- felt (2 colours)
- ribbon
- needle & thread
- glue
- embroidery thread & needle
- paper & pencil
 For the wand you really could make it any shape you want, I picked a heart. I just drew a heart and cut it out. (This is where you use your paper and pencil to make your pattern). If you are going for a more perfect shape there are any number of shapes you could download for a pattern. Once you have your shape pin it on to your felt.
  You are going to need to make 2 identical hearts. So obviously you’ll need to repeat this step.

Set aside your first two hearts and then using your first pattern draw a second one which is smaller. Here you can see the second pattern on top of the original hearts. 
Using a second colour cut out two more hearts. You should now have four hearts which are two different sizes and colour. Pin the two different sized hearts together and then do a running stitch around the hearts with the embroidery thread.
Next attach a felt flower to the middle of your hearts. You can see how to make a felt flower here.
 Now that you have two hearts each with flowers in the middle you are going to want to attach them to the wand. The wand is simply a piece of wooden dowel, you can pick up dowel at a craft store or a hardware store. If you have no way of cutting your own dowel, then pick it up at a building supply hardware store as they will be able to cut it to size for you. How long you want to make it is really up to you; if it is for a little princess you’ll want it shorter and for a taller princess longer. I’d make at least a foot and a half. Now I apologise, I am missing a few pictures so I will do my best to explain this last process well.
Next I took the ribbon I had and cut it in long lengths as I was going to tie them to the top of the dowel in a simple knot and wanted to have each end of the knot to have a long flowing ribbon. I cut the ribbons in to four long pieces so I ended up with eight pieces hanging down once I made the knot. I then placed the two hearts over top of the knot on the dowel. (The top of the dowel was about where the bottom of the flower started) I used a dab of glue to hold the knot in place and then some more glue to glue the hearts together but NOT along the edges. Once the glue was dried I made a blanket stitch around the hearts holding them together.
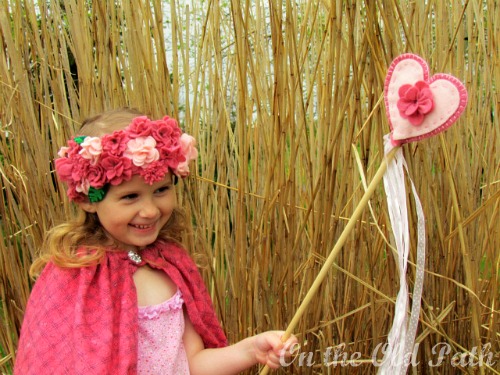
Now your wand is ready for your princess to play! First Princess Tutorial Post Felt Flower


Comments