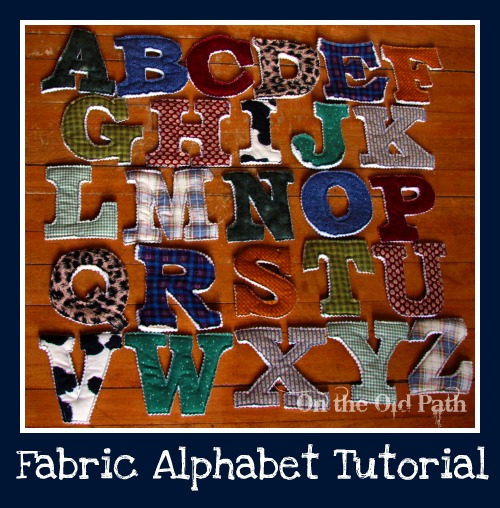
I had fun making these! I have seen various versions of these online but thought I’d share my take on them. Now my Fabric letters are just that but you can change it up by adding a magnet to the inside of each letter or you could add something to give them a crinkly sound try cellophane or even a recycled wet wipes bag!
You are going to need to gather your materials;
- Sewing machine, or needle and thread if you are a hand sew-er
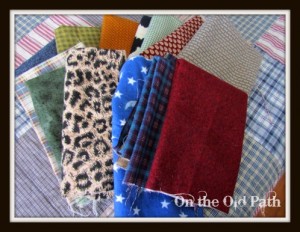
- various scraps of fabric
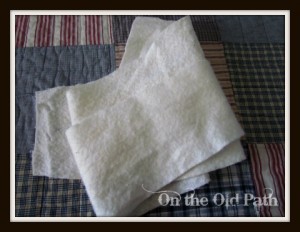
- cotton batting (the kind you’d use for quilting)
- fabric pen
- scissors (paper, fabric, and pinking shears)
- computer and printer or paper and pencil and some creativity
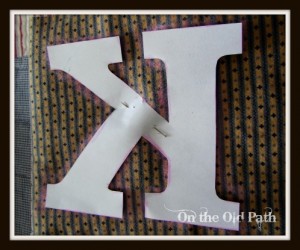
I went to my handy word-processing program and printed off my letters. I typed in the alphabet with the cap locks on. I then selected a font I liked. I went with ‘Bookman Old Style’ I hit Bold and selected my font size of 450, I also selected outline so the letters would not be filled with ink. I wanted something a little fancier but if you want a more straight forward stick and ball look for your letters go with a font like ‘Arial.’ Lastly, I did not like the ‘Q’ so I printed an extra ‘O’ and added my own tail to it.
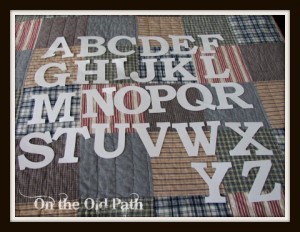 Once all the letters were cut out I assembled them in order to be sure I had not accidentally missed a letter. Next I looked at my material and decided to go with 13 different patterns had I had 26 different scraps of fabric I might have gone that route but I didn’t so I figured each fabric would get used twice. Now I could tell you to cut all your fabric and batting to a certain size but I tried to eye-ball it. I cut my batting in strips as the letters are all the same height but they varied in width. If I had pre-cut them all a certain size than a letter like ‘I’ would be wasting material. If you want you can go with making all the letters out of the same fabric, or a colour theme all shades of blue. I used all flannel as I wanted them kind of soft and cuddly.
Once I had cut out the material and the batting (I did a double layer of batting) I pinned my letter on to the material backwards. (I stacked a layer of fabric, then the batting, and then another layer of fabric. Both pieces of fabric are facing right side out.) Once pinned on I drew with chalk around the letter. I thought I had a fabric pencil but could not find it. I have since picked up a fabric pen that disappears after a few days. I think one of these pens would work much better than the chalk. I then removed the paper letter and went and sewed around the chalk outline. I kept just one pin in to hold the layers together.
You can see the chalk outline is rather faint and it was harder to see on the lighter fabrics, once again if you don’t have a fabric pen they are a great thing to use, be sure you aren’t buying a permanent marker fabric pen.
So this is where I got so busy in the project that I forgot to keep taking pictures, I am wanting to make lowercase letters and 0-9 eventually, maybe I can update this then with pictures of the next few steps.
When you have sewn around your letter you can then cut it out with pinking shears, regular fabric scissors will work just fine too but the pinking shears give a nice effect. Don’t worry about fraying it is okay if it frays a little.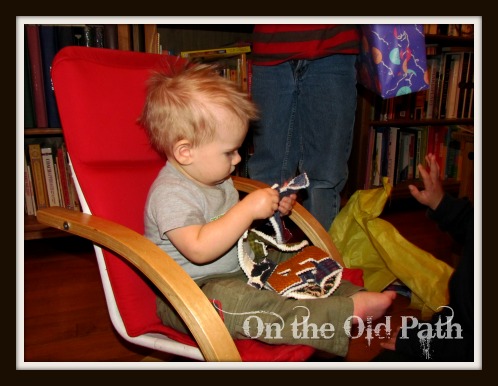
Once Samuel opened his present we found a nice little basket to keep them in when he isn’t busy with them!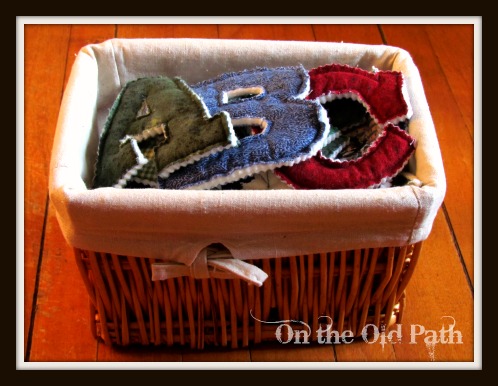
If I left something out or something is unclear please feel free to ask away! Enjoy!
Sharing this post at….




Comments