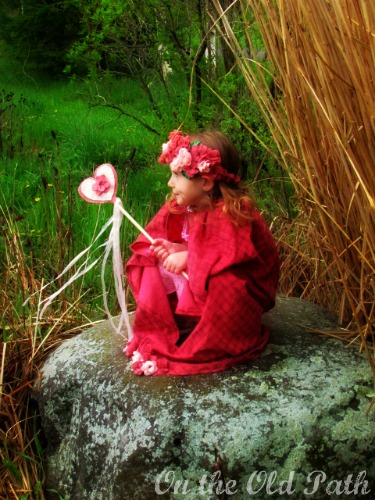
 Several months ago now, I wrote a post about what I made Hannah for Christmas. I also mentioned how I was toying with the idea of selling some of my creations. One of my readers was slightly disappointed as she was hoping I would do a tutorial. Well, I am of the opinion that there are people who make and those that buy.
Often I will look at something and think I could make that, and then I usually won’t buy it. However, if I don’t think I would ever make it I would be more likely to buy it . So by putting tutorials out here I suppose there is a chance that I could lose the odd potential customer but for the most part I think those that would buy what I’m making most likely would not make it themselves.
Over the next few weeks I am hoping to share my Princess Tutorials here.
The Princess Tutorials will consist of the cape, crown, and wand not necessarily in that order. The one item that shows up on all three pieces is the felt flower. So today I will do a little tutorial on how to make the felt flowers.
~Felt Flowers~
To begin pick your colours and gather your materials. You are going to need;
felt
scissors
needle & thread
paper & pencil (optional)
ruler (optional)
I am probably the worst person to make a tutorial on anything because I am notorious for winging everything. The paper, pencil, and ruler are to be used if you like things precise. If you do then you will use these tools to make a pattern and measure, I on the other hand like to eyeball things. I begin by cutting a strip of felt about 12 inches long and about an inch wide, then I decide what I want my flower to look like. For this tutorial I chose a scalloped edge and a fringed edge. On one side of the felt strip cut just over half way down to make your fringe and about half way down as you make your scallops. You can see I am not precise but you could even print out a scallop from your computer and trace it on to your felt if you prefer.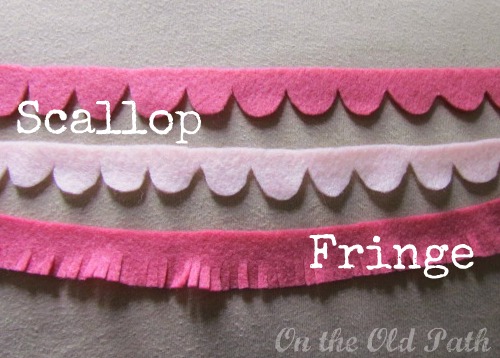
Next you are going to grab your needle and thread and knot the end. Next near the top of the straight edge (in my case nearly straight edge) you are going to make a running stitch.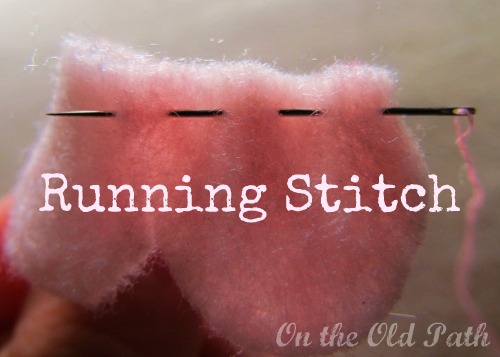
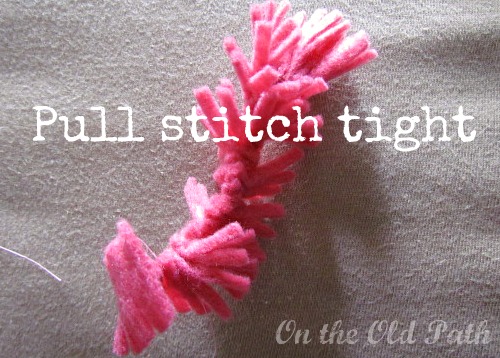
Once you have done this all along the top of the straight edge you begin to pull it tight.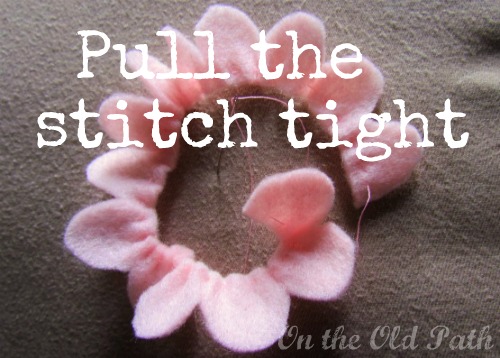
This is the part I find hard to explain, once you pull it tight, leave the needle and thread attached. Starting at the far end that has the knot in it begin to spiral it around, as your flower takes shape you may need to loosen it a little. Once you have the shape you like stitch it together. You can do this by pushing the needle back and forth on the backside of the flower. If you like you can add a little dot of felt in the center of your flower.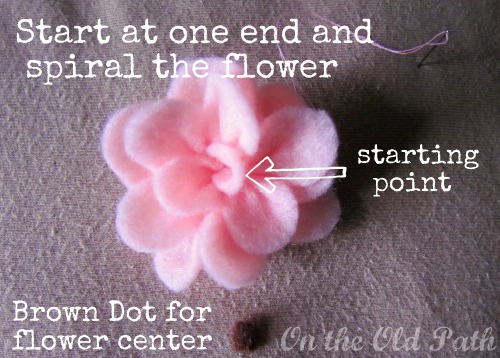
For the fringe flower you are going to do the same thing…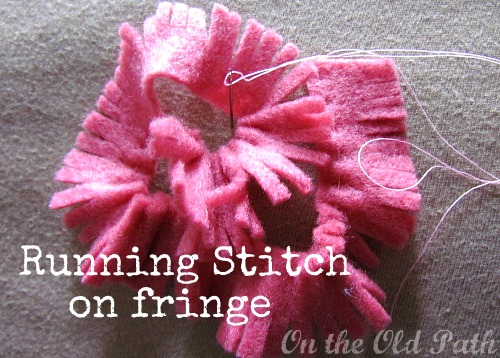
This is where it is a little different instead of arranging it into a spiral this time you are going to roll the end, be careful to keep your fringe facing the same direction.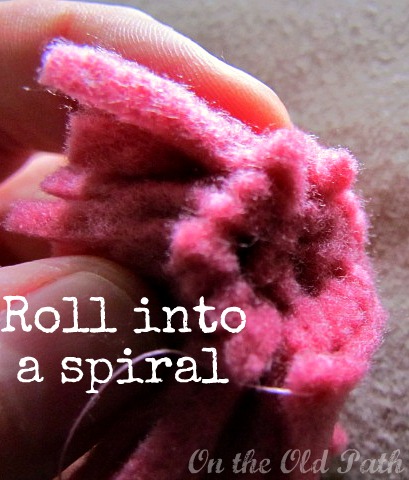
Again leaving the needle and thread attached so you can stitch the flower together.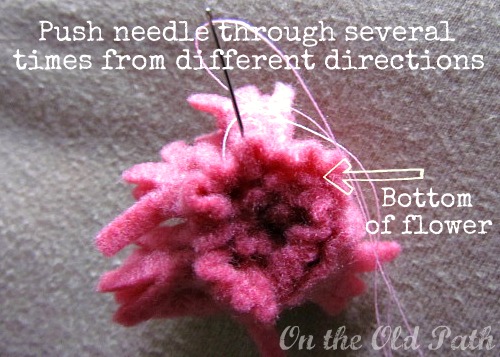
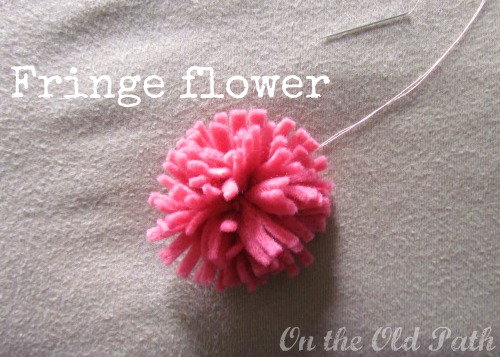
Your fringe flower should look a little like this (depending on how precise you are it might look a lot like this).
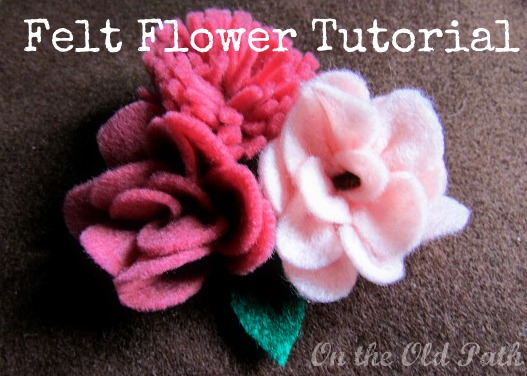
You can add a center to the fringe flower or leave it plain. You’ll notice a third flower that is slightly different from the first in the first felt flower picture. With that one I rolled it instead of doing a spiral. Once your flower is done you might think, “hmm that pedal looks too big,” grab your scissors and trim it. Instead of scallops cut a row of pointed triangle like shapes for a different look. You could give each scallop a double bump. Be creative, you can come up with all sorts of different looking flowers. Have fun with it!
Princess Tutorials Part 2 ~ The Wand



Comments